Node.js is an open-source, cross-platform JavaScript runtime environment that executes JavaScript code outside of a web browser. It is used by major companies like Netflix and Uber. Before Node.js, JavaScript could only be executed in the browser. With Node.js, you can run your code as a standalone application.
To install it on Windows 10 or 11, follow the instructions below.
Step 1. Open Command Prompt
You can open the Command Prompt by pressing the Windows key + R, typing cmd.exe in the Run window, and pressing Enter.
Step 2. Run the install command
Type the command shown below and press Enter:
winget install -e --id OpenJS.NodeJS
This command will download the Node.js setup files and run the installer as an administrator. When prompted, click Yes to allow the installation.
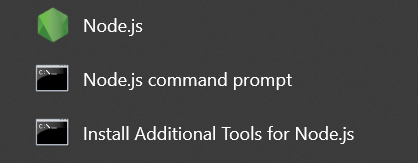
Once the installation completes, you will find the Node.js application and command prompt environment available in the Start menu.
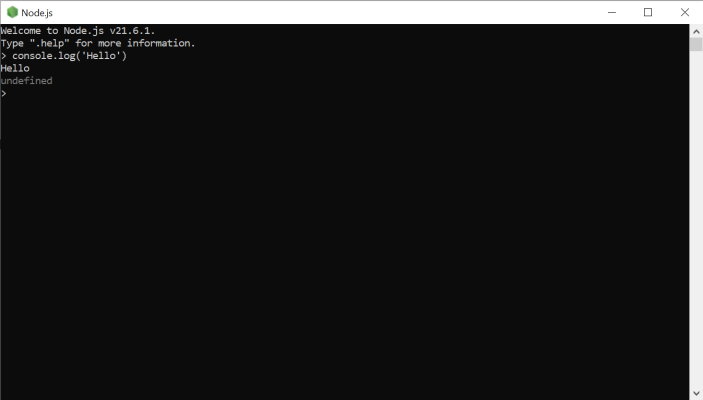
To test if it works correctly, open the Node.js application and enter the following command:
console.log('Hello')
The output should look like the screenshot below.

You now have Node.js set up on your Windows PC.
If you have any questions leave a comment below.