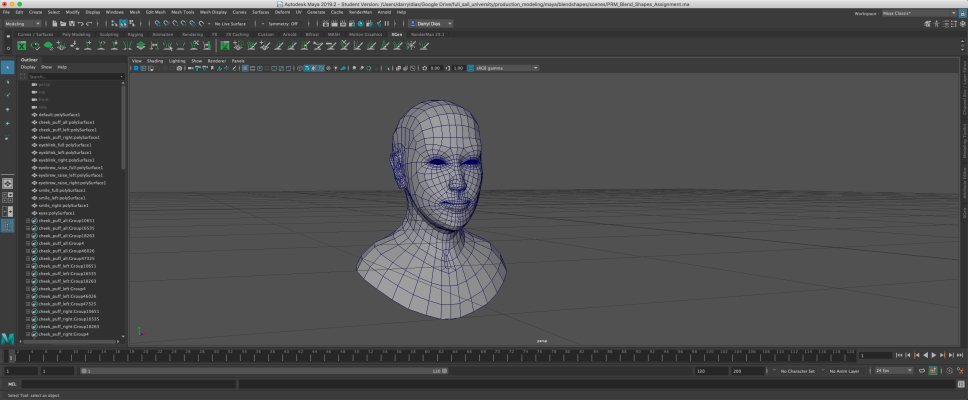
In this article, I will be explaining how to render wireframe in RenderMan 23 for Maya, for this process I will be using Maya 2019.2, but this process should work with any version and service pack that supports RenderMan 23.
RenderMan offers integrators, for this process we will be using PxrVisualizer which offers various types of styles of output, like shaded, flat and normal.
First, we need to set our project correctly, if you are using Linux, your project needs to be in a directory that has the correct read and write permissions for Maya to work correctly or it will crash, you don't have to worry about read and write permission on Windows or Mac.
Now we need to open the project we will be rendering.
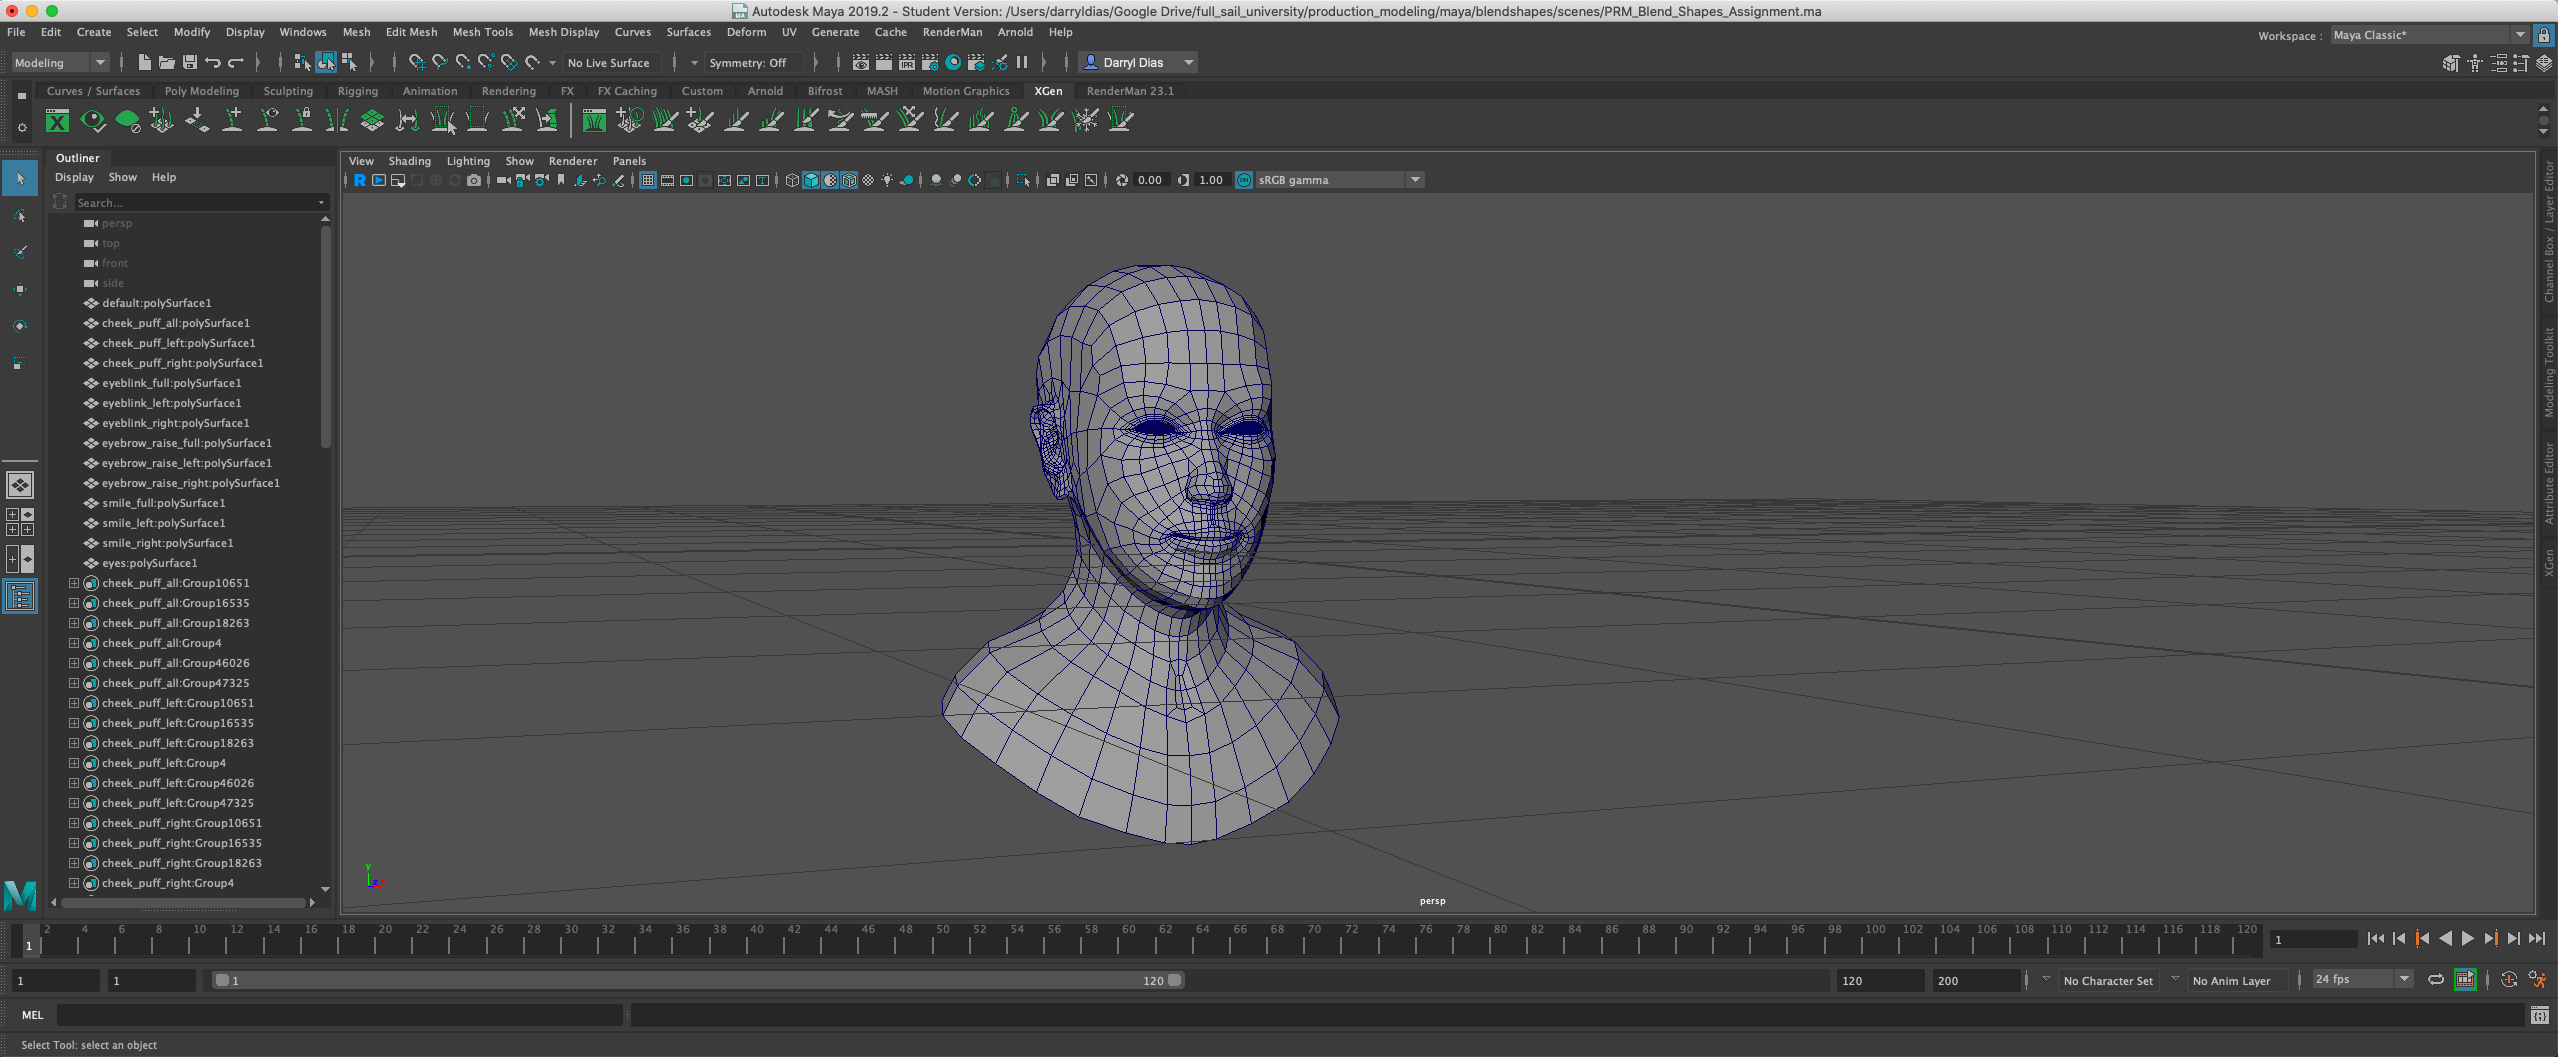
Here is the project I will be rendering.
After we have set our project and opened our file we can dive straight into the settings.
Go into the RenderMan menu.
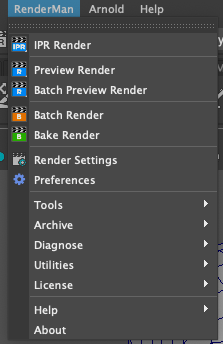
If you don't have access to this menu, enable the RenderMan_For_Maya.py in the Plug-in manager
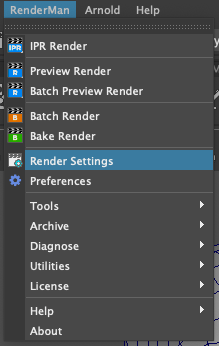
Go into Render settings.
Switch to RenderMan tab.
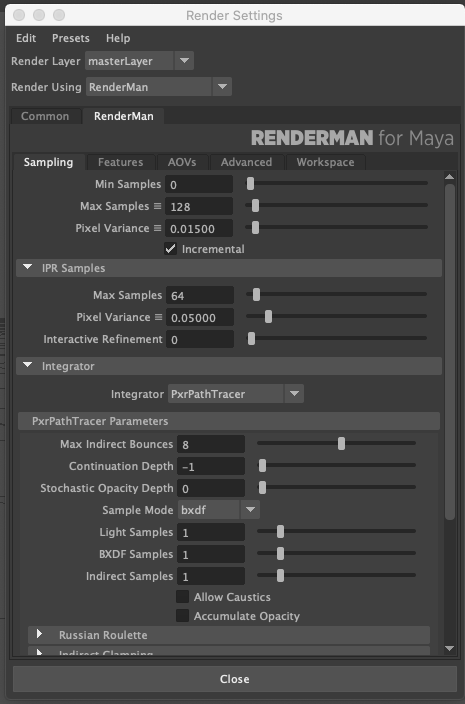
Go into the Integrator row (found under IPR Samples)
By default, the Integrator is set to PxrPathTracer, which is Pixar's PATH Tracer, we need to change it to PxrVisualizer
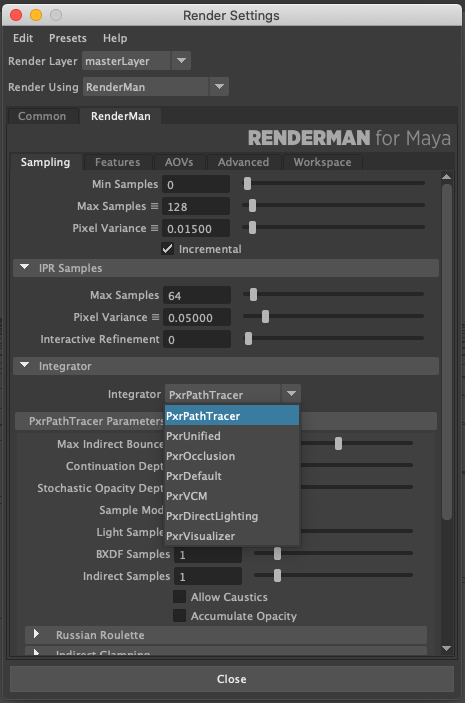
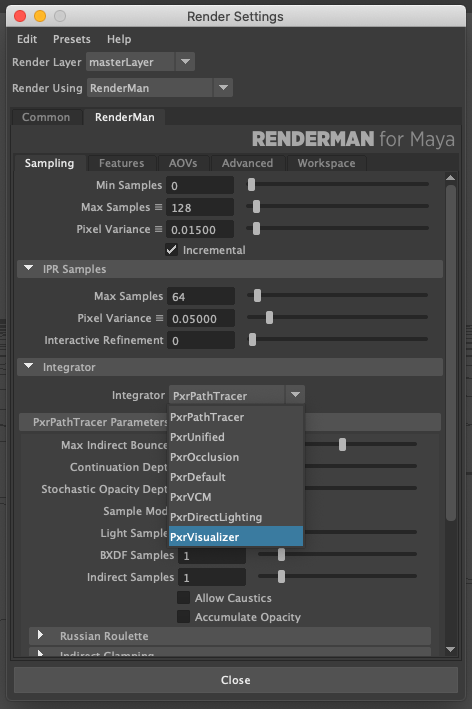
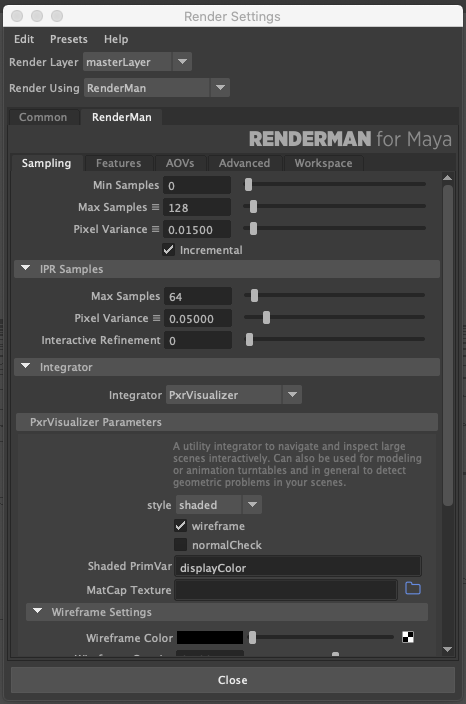
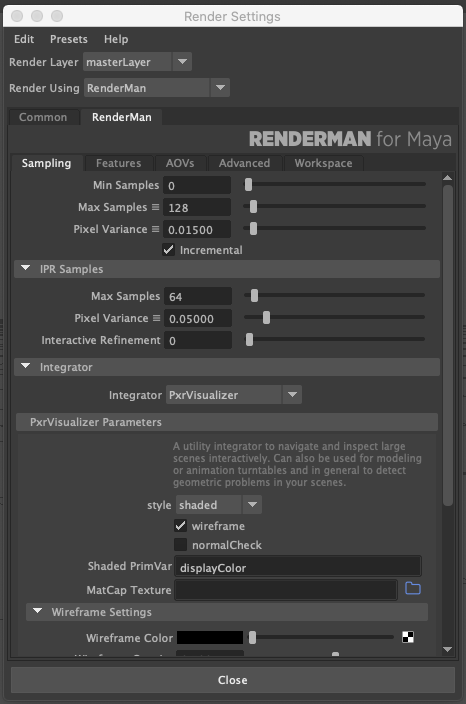
Now, we have switched our Integrator to PxrVisualizer, we can start rendering.
This Integrator supports viewport and It (Pixar Image Tool), however, I have not got it working with Interactive Preview Render.
To render in the viewport, simply press the R button located in the top of the view modal, below View (menu).

R button

R button pressed.
Now you should get a Render that looks something similar to the image below.
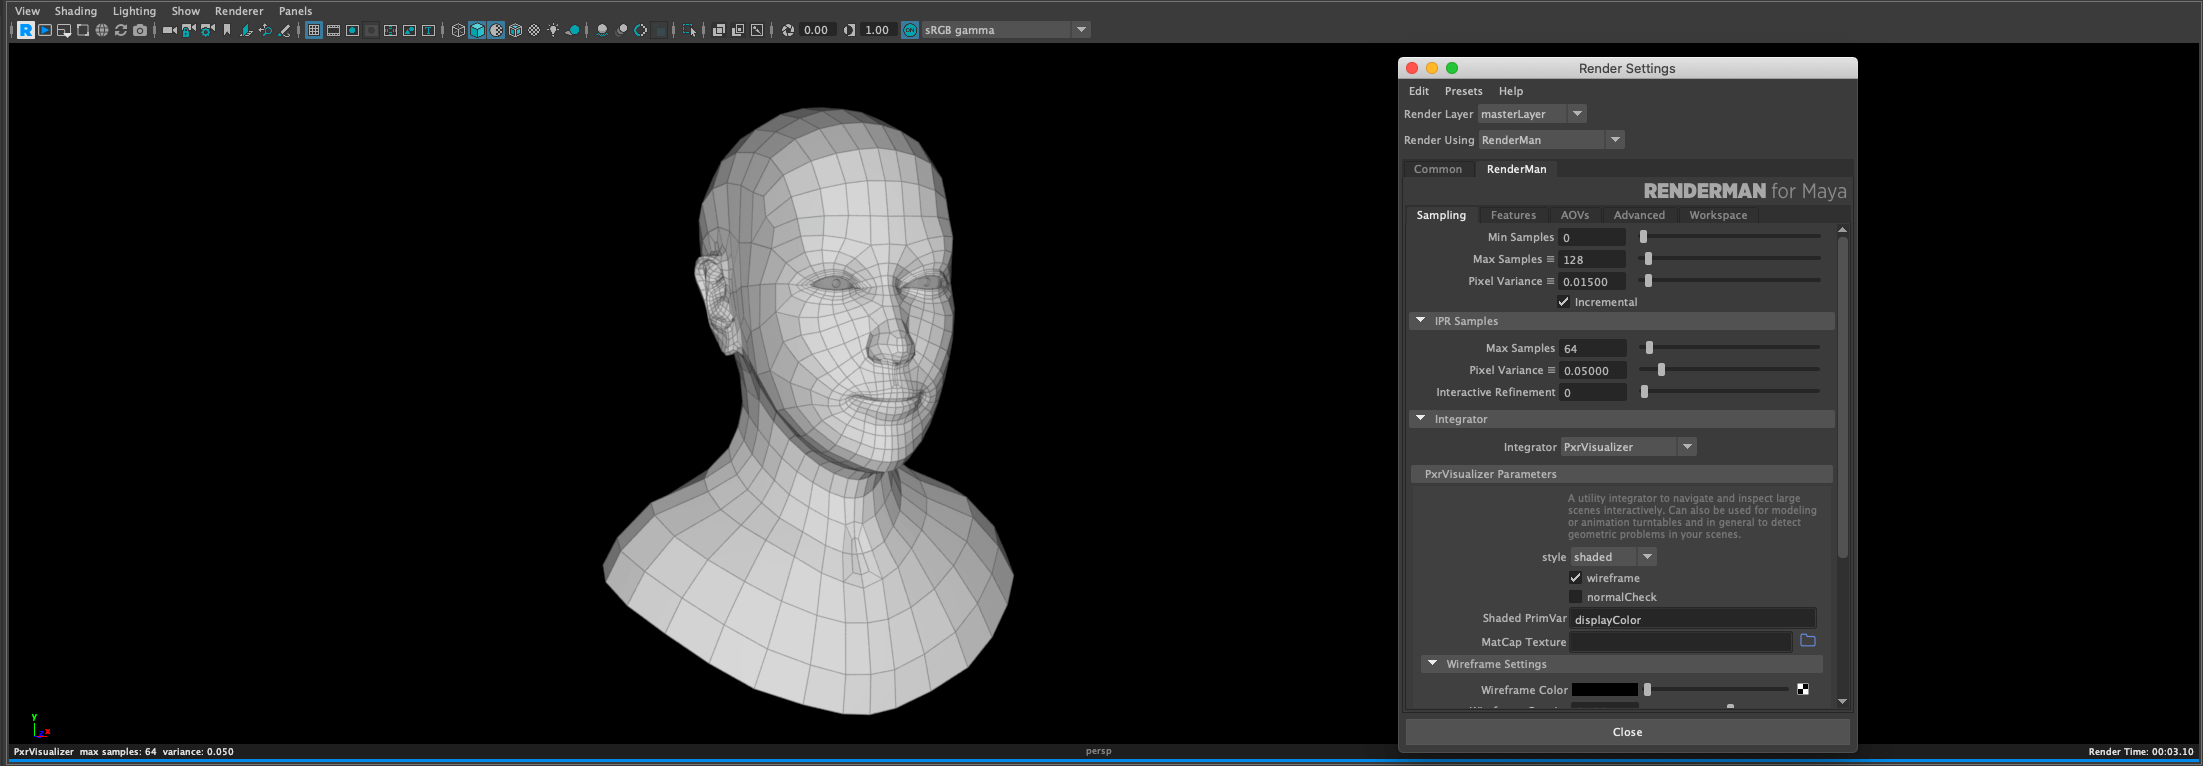
You can also use Batch Rendering if you want a production render of your wireframe or if the scene is too big for the viewport to compute.
You can change the style in the PxrVisualizer Parameters, to get a different render style or look.
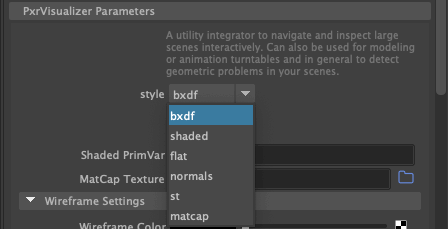
Style drop-down, choose the option to enable it.
Here are a few examples of the various style supported by PxrVisualizer.
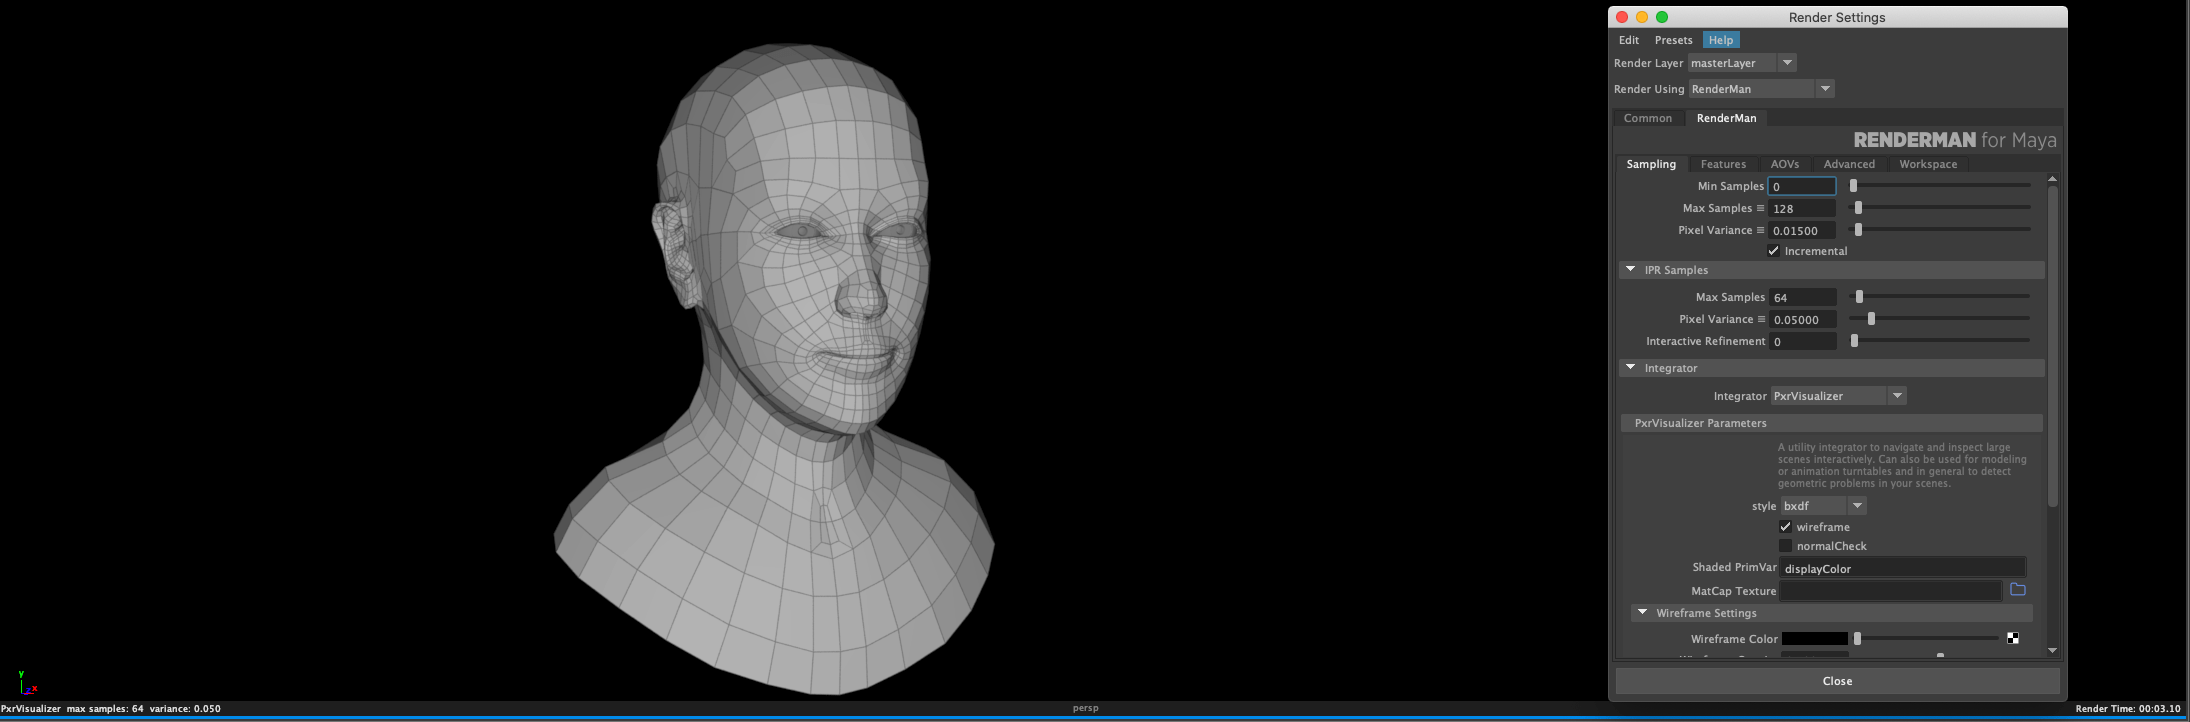
Style: bxdf
Bxdf will render the material and wireframe on top of that.
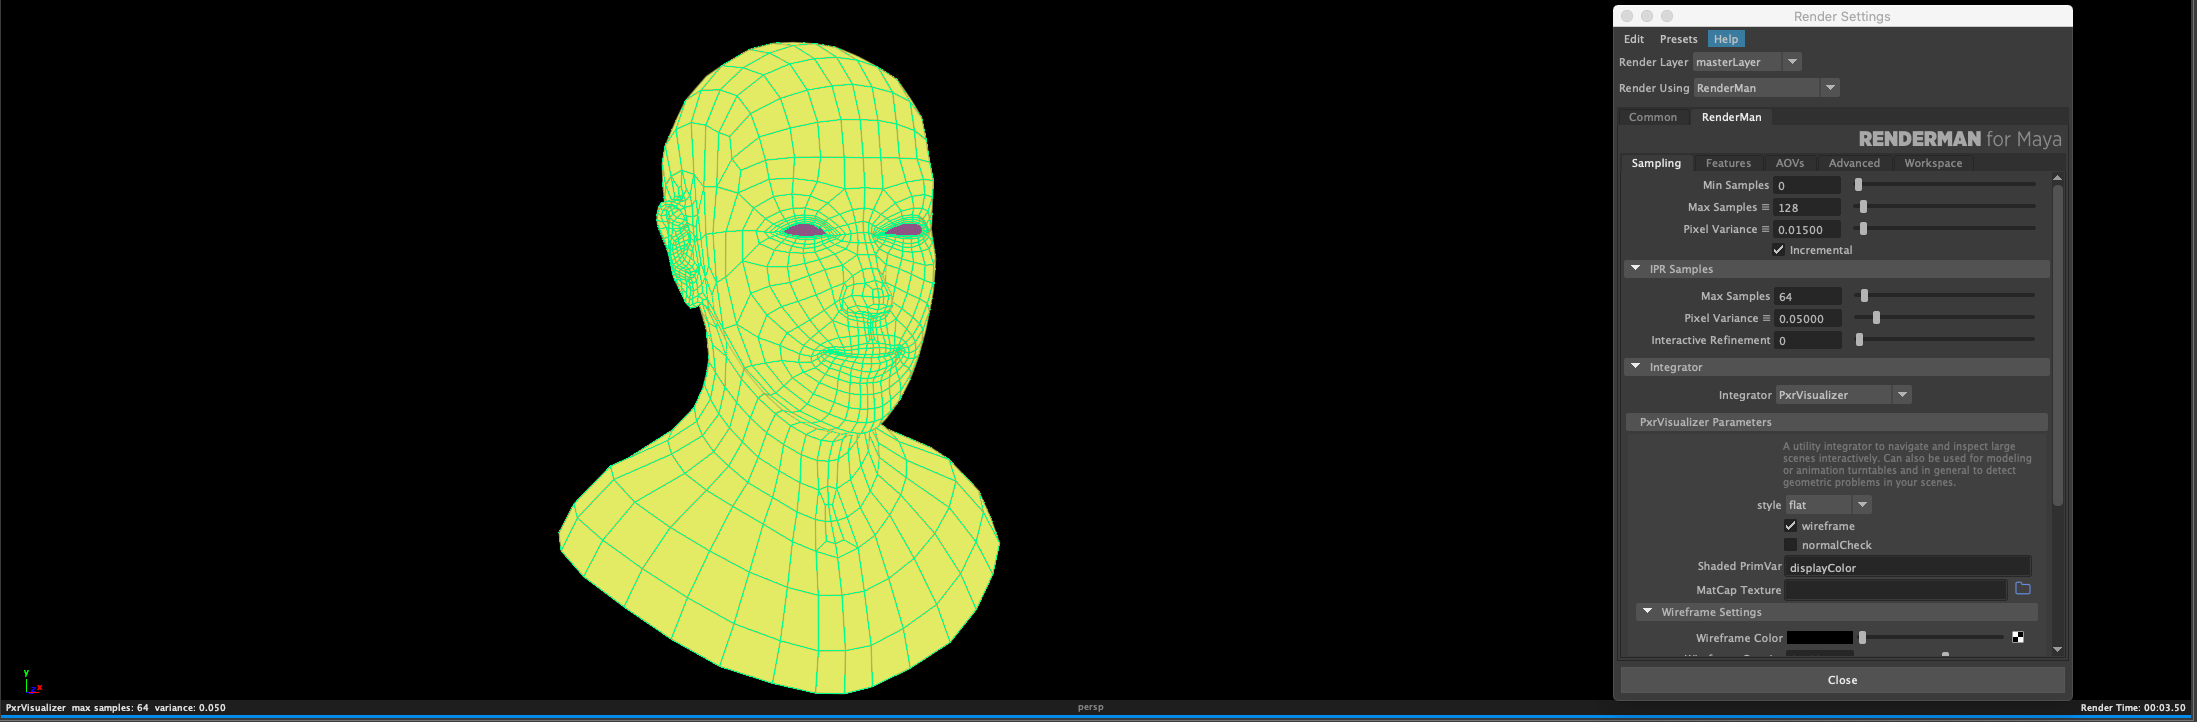
Style: flat
Flat will render the individual mesh, with different colors and render wireframe on top of it.
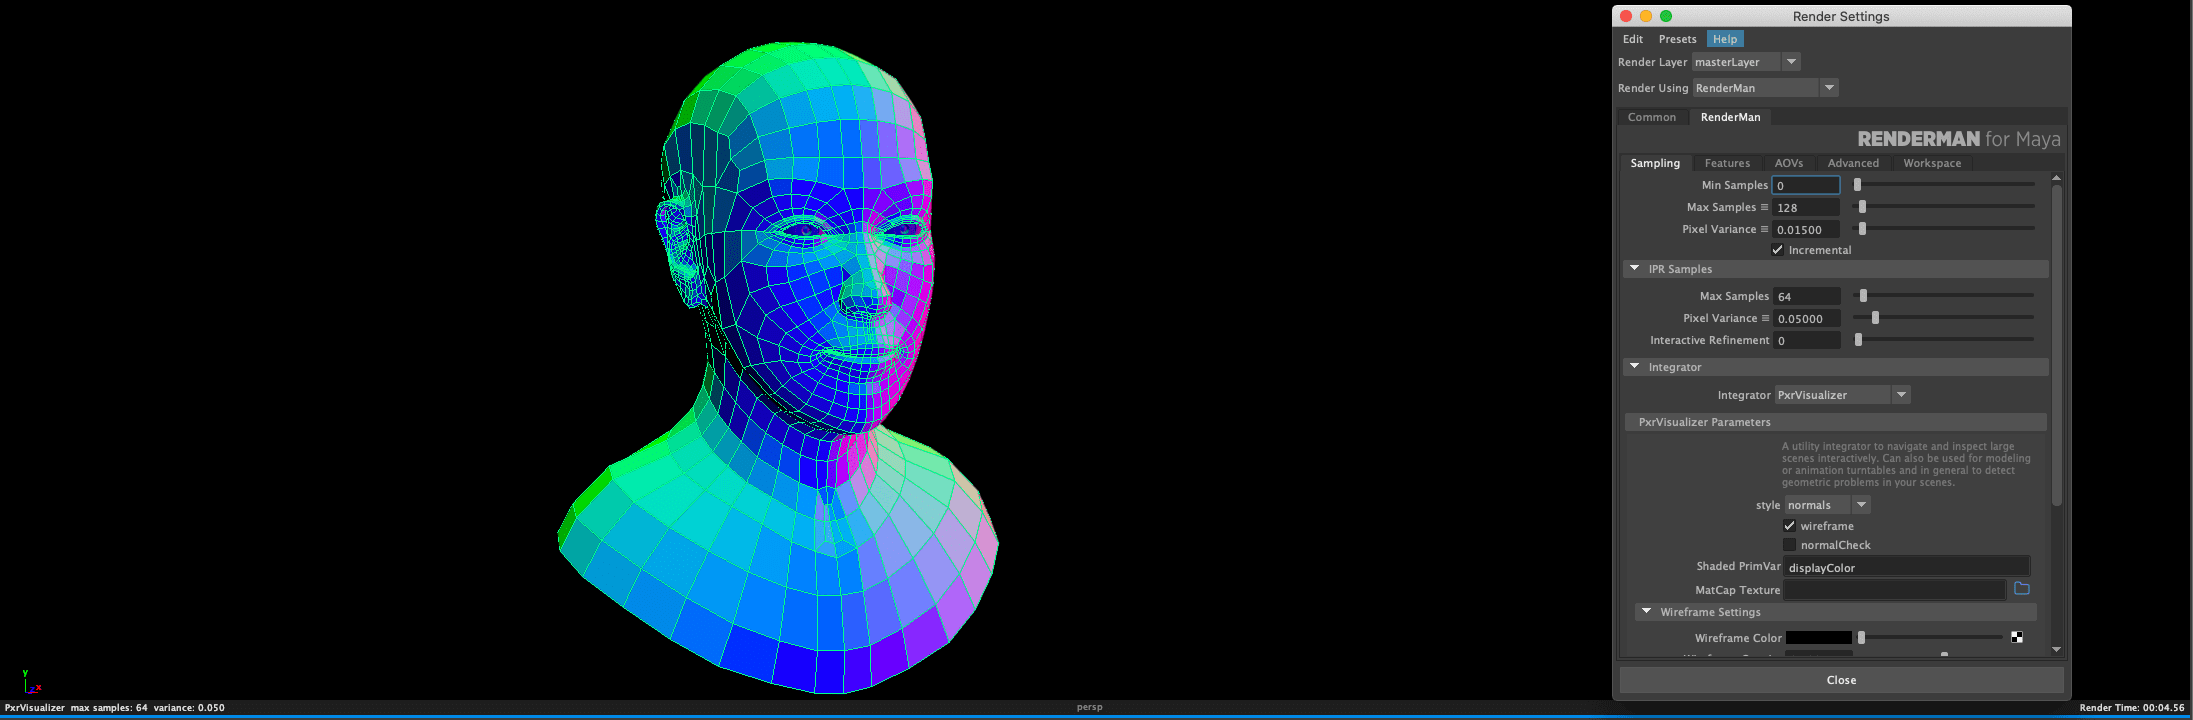
Style: Normal.
Normal will render the normal color information and render wireframe on top of that.
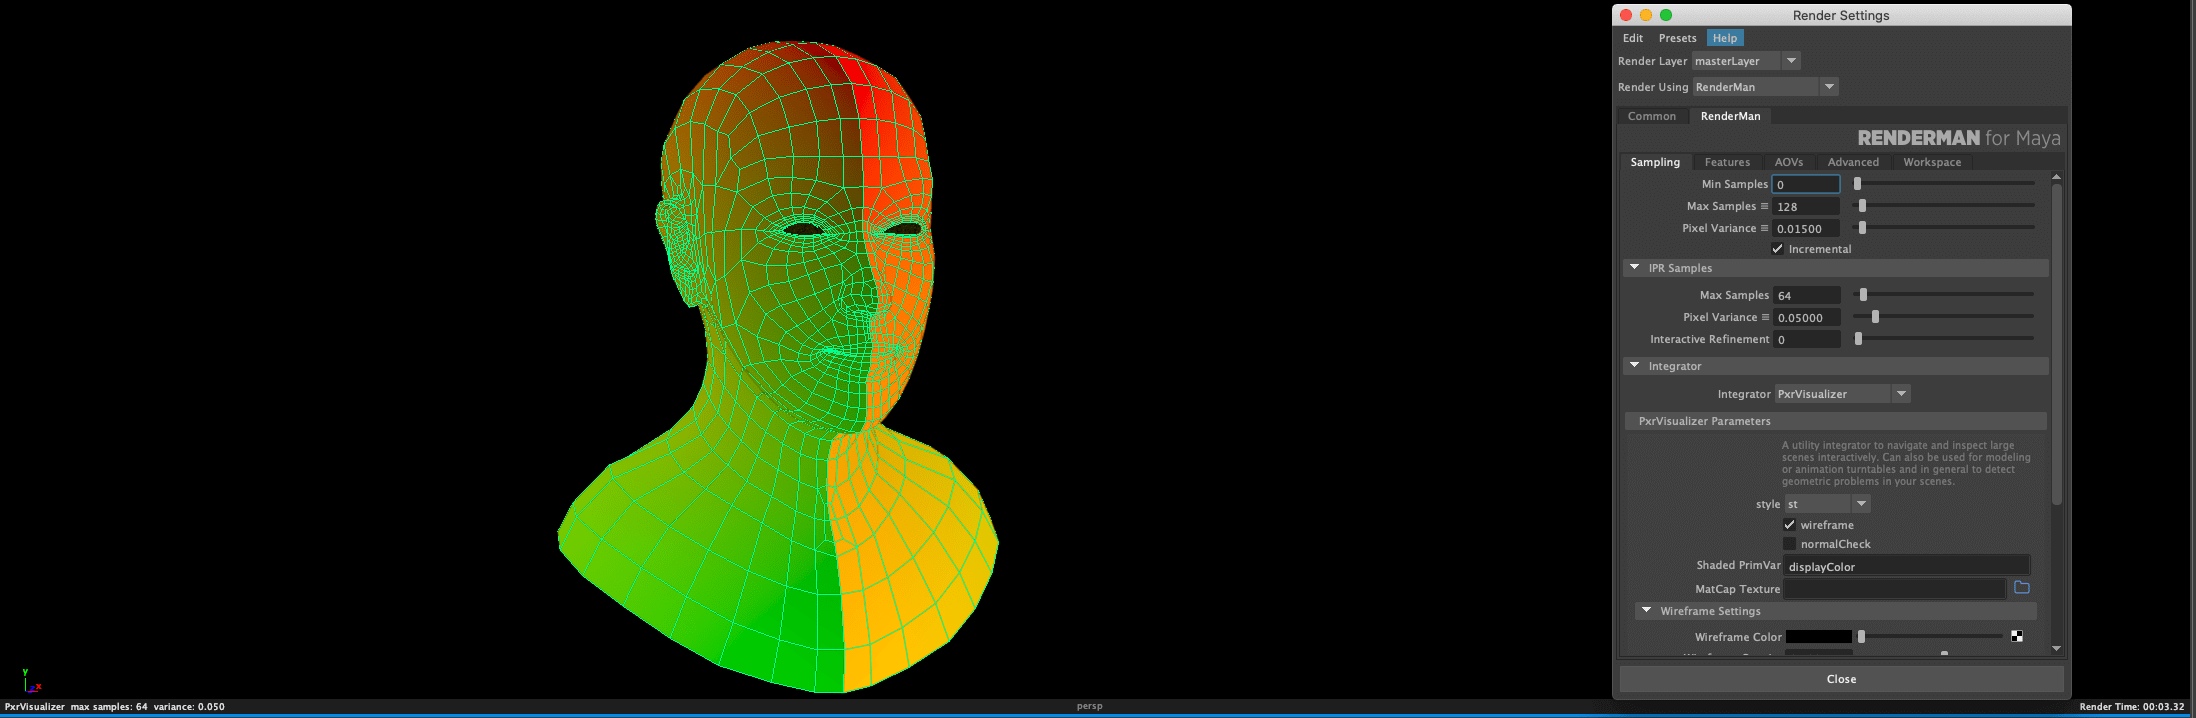
Style: ST
I am not completely sure what St, does when I will get the answer I will update this section.
If you have any questions feel free to leave a comment below or press the red chat button to the bottom right of the page, and we can discuss via email.
