This article will walk you through the step-by-step process of setting up your Raspberry Pi into a remote Linux development environment. You can access this setup on your local network.
This environment can be used for web and software development. It will give you complete access to the Raspberry Pi hardware remotely.
To achieve this, we are going to use code-server. It is an open source project by the folks at Coder.
If you a Microsoft Visual Studio Code user, you will like this a lot because this project is based on VS Code.
You will have access to the Terminal the same way as you would have it on a regular VS Code instance.
It is recommended that you use a Raspberry Pi 2, 3 or 4, these models have above 1 GB memory and it will perform better.
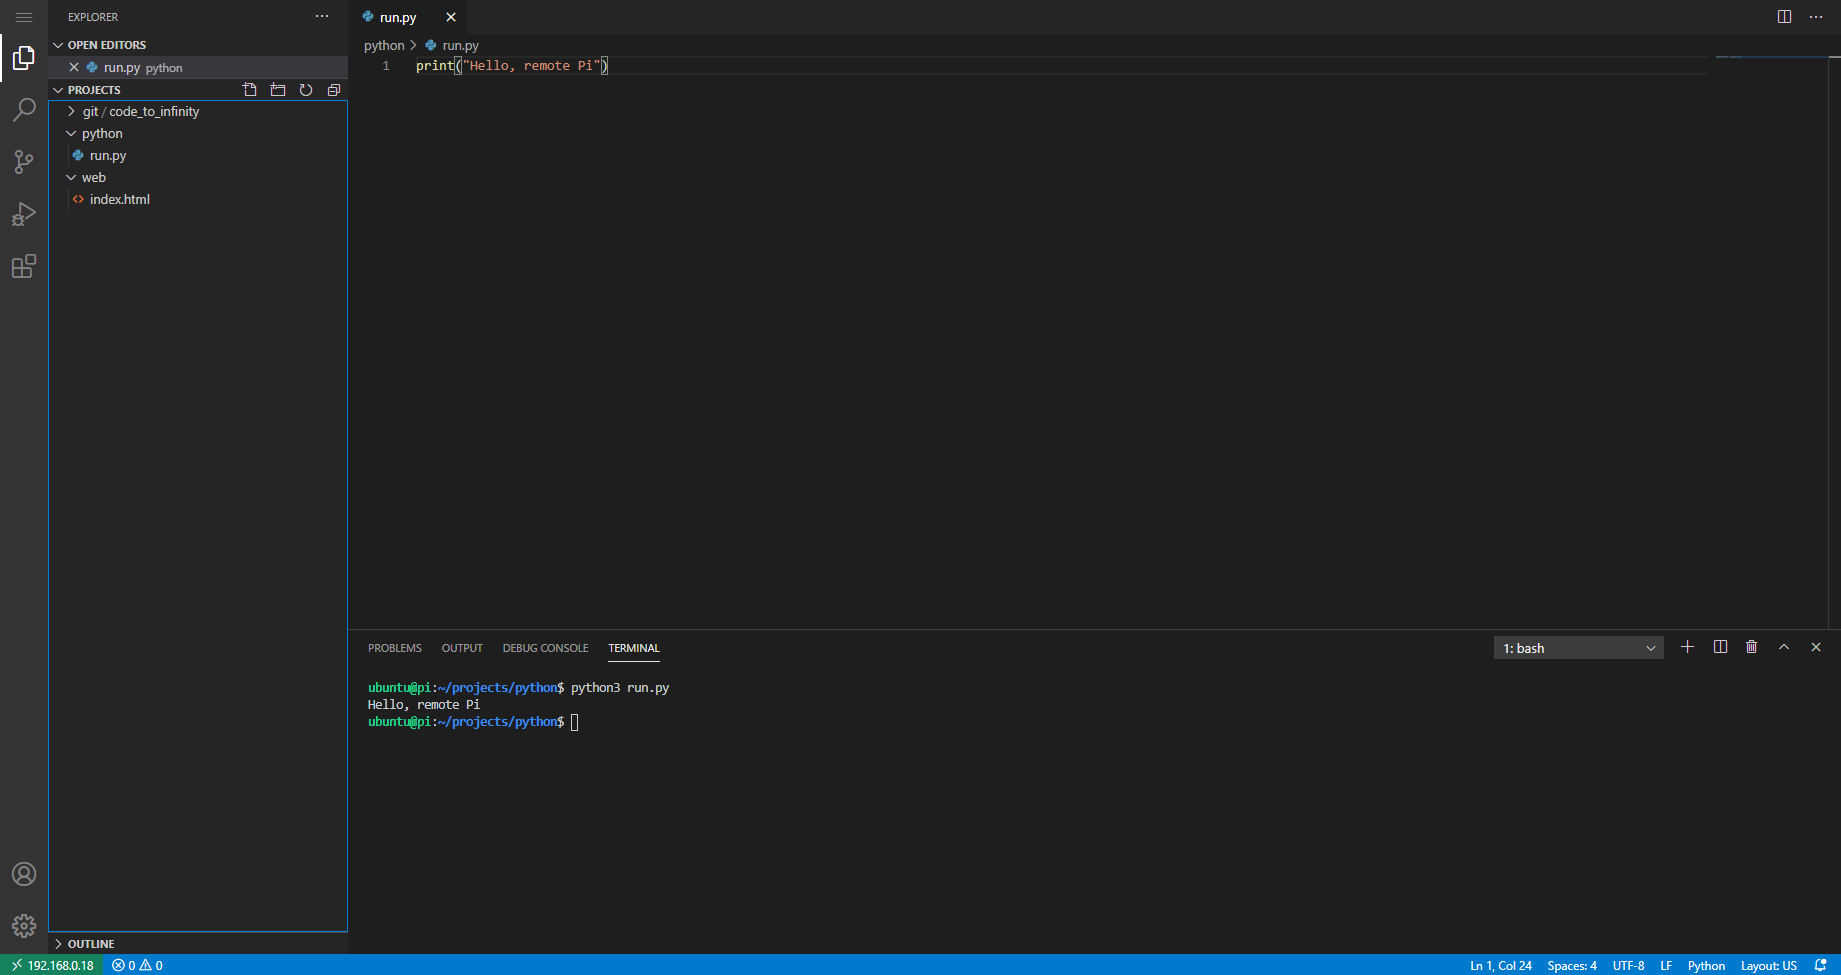
The example above is what the environment would look like.
Setting up the environment.
I have used Ubuntu for my Raspberry Pi, but this should also work on Raspbian. You will need at least SSH access to the Pi to follow along.
Open Terminal or SSH instance.
Run the following command.
The command below will install and setup code-server.
curl -fsSL https://code-server.dev/install.sh | shTo enable code-server as a service run the following command.
sudo systemctl enable --now code-server@$USERTo start code-server run this command.
sudo systemctl start code-server@$USERAt this point code-server is running locally on 127.0.0.1:8080, this can be accessed internally on the Pi. To access it on the network we will reverse proxy it using NGINX.
Installing nginx.
sudo apt install nginxAfter NGINX has been installed.
Enable it on startup, so it starts when the Raspberry Pi turns on.
sudo systemctl enable nginx.serviceOpen the NGINX config file. I have used nano, you can use whatever you like.
sudo nano /etc/nginx/sites-enabled/defaultReplace the content with this or comment everything else using # and add the lines below.
server {
listen 80;
listen [::]:80;
location / {
proxy_pass http://localhost:8080/;
proxy_set_header Host $host;
proxy_set_header Upgrade $http_upgrade;
proxy_set_header Connection upgrade;
proxy_set_header Accept-Encoding gzip;
}
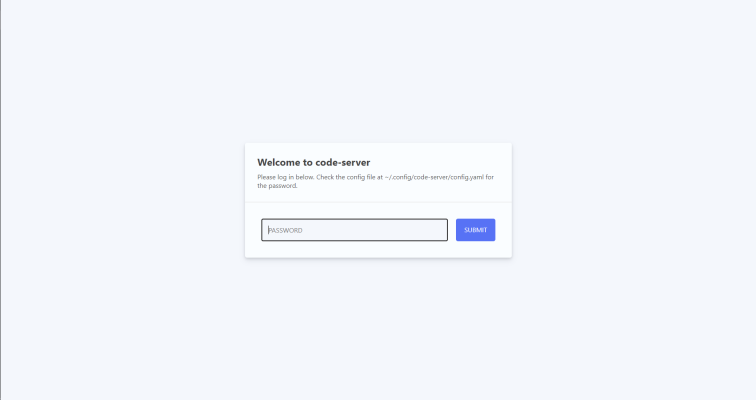
}Now visit the IP address of your Raspberry Pi, this should display you a page like the screenshot below.
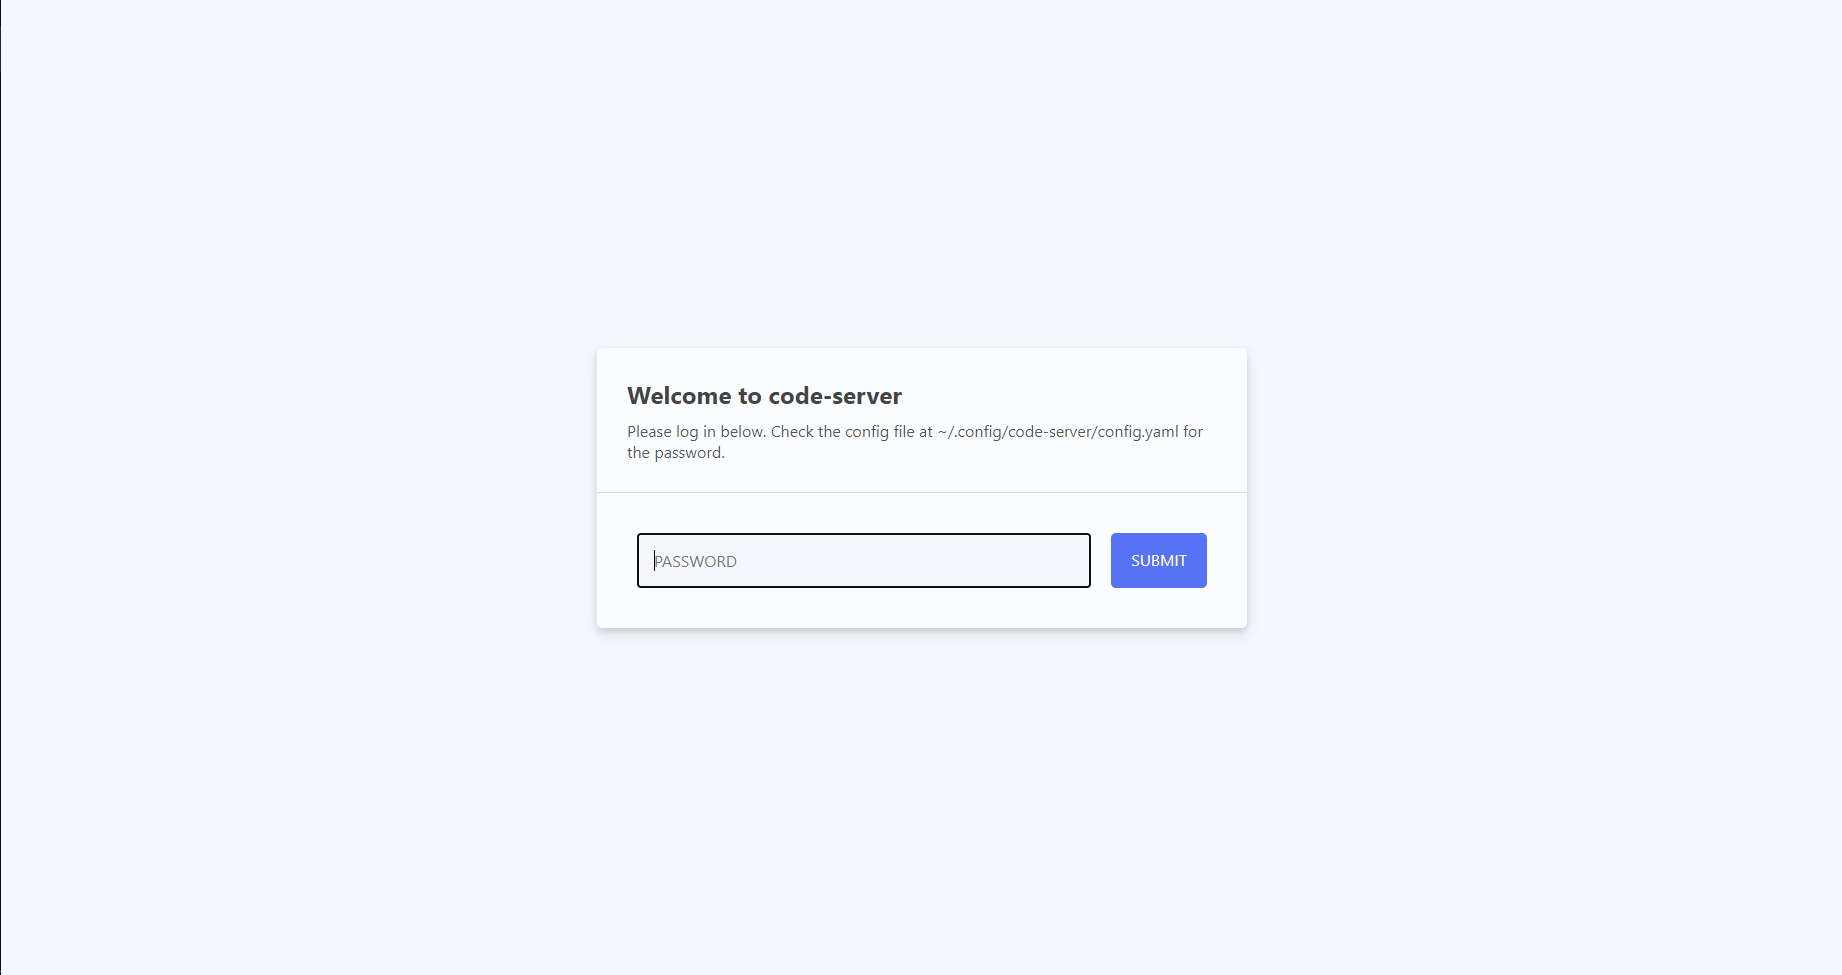
The password for it is located in ~/.config/code-server/config.yaml.
Run cat to read the file data.
cat ~/.config/code-server/config.yamlThe file will consist of a line that says "password:" you enter the string into the code-server page and hit submit, this will open code-server page.
You can edit the password by editing the password string in the config.yaml.
You can get your Raspberry Pi IP address by running ip a in Terminal.
ip aOpening a project on code-server.
I created a projects folder.
You can access the menu by pressing the three lines on the top left.
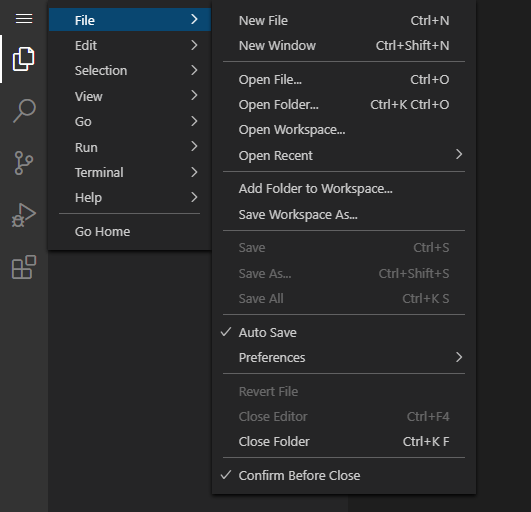
File menu on code-server
After choosing Open Folder, you will get a drop down prompt to select the folder or a folder inside the folder, example below.
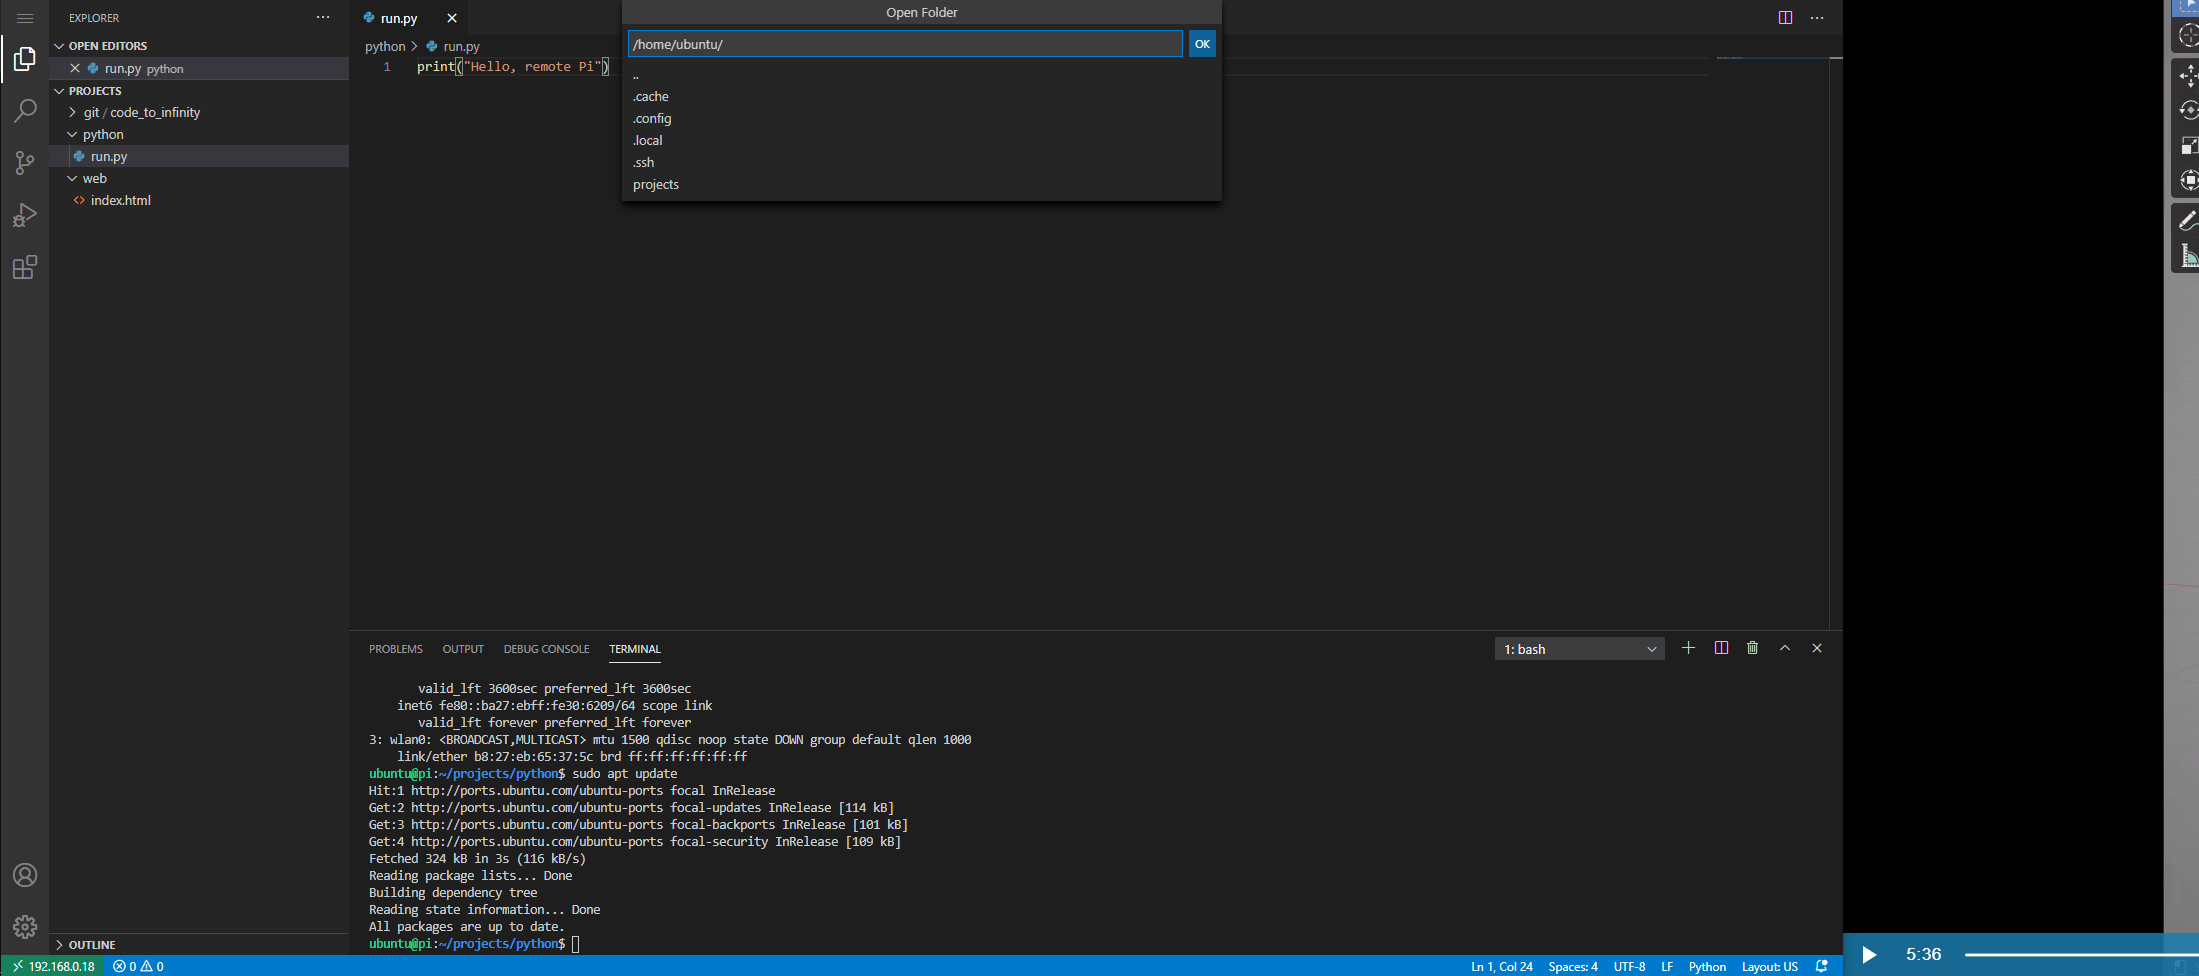
Choose folder in code-server
Now you have a complete Linux development environment running on your Raspberry Pi and you can access it remotely.
That's it folks, if you have any questions or want me to cover a topic, leave a comment below.